Hey y'all! So, I took a fairly long break from my little blogging streak, but I'm excited to get back into it! I'm not going to waste anytime either. Are you ready to follow me in 2013, during my year of ORGANIZATION!?!
Yes, that may sound a BIT intense but wouldn't it be so awesome for everything to have a place and a place for everything?! I was very inspired, by not only the New Year, but also because my family has been sick for the last month and it feels like everything needs to be cleaned, sorted, and well, organized. And no place in our house needed help more than our home office. Since we moved into our adorable little home over 2 years ago I have yet to get our office stuff under control. The computer and filing cabinet have been moved all over (including our bedroom, bleh!). But finally, about 6 months ago, we found the perfect spot. However, that's a far as I got.
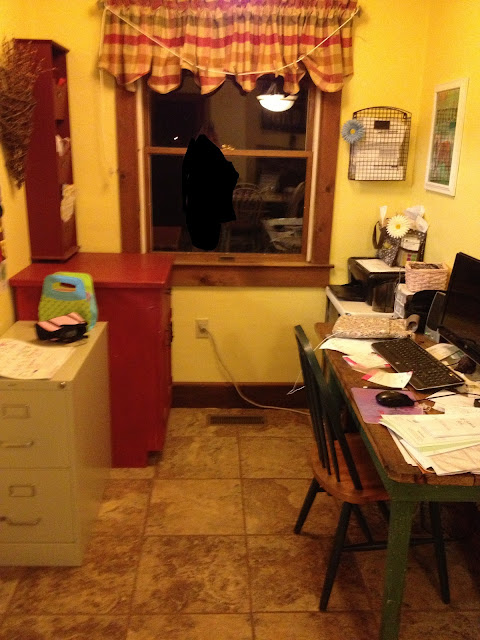
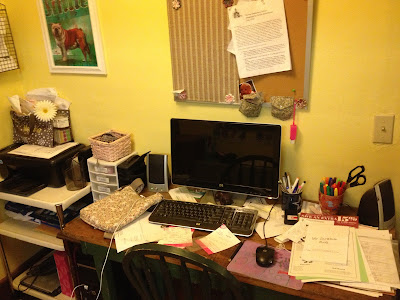
I had ideas on being totally organized and on top of things, but I had no plan. And since I had no plan to implement, school papers got stacked all over, receipts had 6 different spots, and bills were buried, and even, forgotten. The pictures do not even tell the whole story. Items that look like they would be helpful in sorting, filing, and organizing, were just jammed with all types of papers just so that they had somewhere to go. I don't even have pictures of the kitchen counter, which also has a cute little organizer that does nothing but hold random things found around the house. The dining room is also a horror show of art supplies and Reese's crazy amount of school papers that I can never seem to throw away. So there I was, January 1, 2013, with a family sick with everything imaginable, while I was waiting on the moment that I could dive right into my first project of 2013, the home office.
In the midst of still dealing with junky sickness, I had to start. Surprisingly, it wasn't as nearly intense and difficult as I thought. I certainly didn't do it all in one day, but if you break it down in to steps it can be done fairly quickly and efficiently. I used 3 basic steps and will share the first one with you in today's post:
Step 1 Clearing out your space and setting up your layout.
Step 2 Papers, sorting and purging.
Step 3 Putting everything in its place.
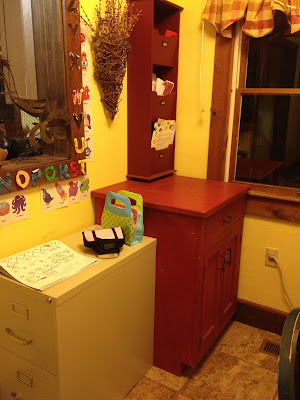
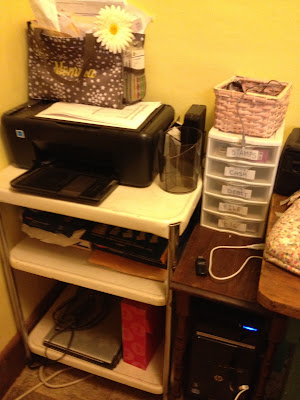
Step 1 is by far the most time consuming step but it's also so helpful. You need to be able to see the space you have and make sure it works for you. I didn't take pictures of the cleared out space, sorry! I just got caught up the with excitement of it all and forgot. I love changing rooms around. I always "see" a better set up, so I usually think. I was looking forward to switching around the furniture, assuming that there would be a better, more functional layout. After an hour or more of moving things in every possible way, guess what I found out? The way it was already set up was the most functional setup (minus 2 items plus one wonderful addition). The filing cabinet and the tall, red filing tower found perfect new homes and I also found a way to have a scrapbooking area (YAY!!). What went back into the space was a large red cabinet, a metal cart with 3 shelves, a small side table, my computer desk, and my new craft table that my amazing, talented husband made for me in like an hour. Now that everything was put back, emptied and cleared, it was time to deal with all that was left out, the PAPERS. Which brings us to Step 2 :).
Until next time....